My first real camera was a Nikon FE. I had 2 lenses, a 50mm prime and a 35-70mm zoom. I never really used the zoom. I loved that camera. I almost always shot slide film for my colour work, and used a variety of fast films for my black and whites. There was something magical about picking up the film from my lab, laying the trimmed roll of slide film over the lightbox, and seeing the almost three dimensional quality that the photographs seemed to posses. And black and white contact sheets, well there’s something that I can’t quite put my finger on. I just love them. I could look at contact sheets all day, every day.
So when I made the move to digital photography I was keen to keep as much of this wonderful filmic aesthetic as possible. I do this both through the way I shoot, and the way I process. One of the important processing hurdles was how to replicate realistic film grain in my digital prints.
I’ve never been fond of ultra-crisp, clean and clinical digital photographs. To me, grain and movement add heart and soul to an image. As a result I tend to allow shutter speeds to slow sometimes, rather than blast the scene with flash to freeze any movement. And I regularly shoot at high ISO’s, even when I probably don’t really need to. 800 ISO is probably my most used speed. This adds some natural noise and texture into the image, breaking up the tones and roughening up the image a little. However, sometimes I need to drop the ISO as low as it will go, when shooting in bright sunshine for example. This is when my Film Grain action comes into play.
Recently I have started using the grain feature in Adobe Lightroom to enhance the grain in my photographs,
but this tutorial focusses on my Photoshop action for adding Film Grain. This method is non-destructive.
Start with your flattened processed photograph.
Add a new Layer. Call this Layer Film Grain. Fill this Layer with 50% Gray.
Now go to Filter > Noise > Add Noise. Set the Amount to 10, Distribution to Gaussian and check the Monochromatic box. Click OK.
Next set the Layer Mode of this Layer to Overlay. This allows the image below to show through, adding the Grain Layer as a semi-transparent layer above it.
The next steps depend on the resolution of your photograph and the size of grain you are looking to add. For a 12 million pixel file with a medium sized grain I do the following:
Go to Select > All. Then Edit > Transform > Scale. In the Menu Bar at the top of the Window type 120% in the Width and Height boxes.
Go to Select > All. Then Image > Crop.
Now go to Filter > Blur > Gaussian Blur. Set the Amount to 0.7 and click OK.
This will give your grain a nice, natural feel.
The next step is to get a little more grain into the light midtones and highlights.
Duplicate your Film Grain Layer and call this Highlight Grain.
Go to Select > Color Range. Set the Fuzziness to 50 and click OK. Now go to Layer > Layer Mask > Reveal Selection. This masks off the additional Highlight Grain Layer so that it only applies to the Extreme Midtones and Highlights.
You can now adjust the opacity of each Layer independently to achieve the level of grain you are looking for. If you want to add a coarser grain, you can duplicate either or both of these Layers to double the effect. I usually set the opacity of each layer to around 50% for colour film, and around 70% for black and white film.
One extra thing I like to then do, is to actually soften my original image slightly. Go to Filter > Blur > Gaussian Blur and set a Radius of 0.4. This just softens the hard edges of the photograph and helps to create that realistic filmic aesthetic.
And there you have it. You can download this action here Film Grain in Photoshop
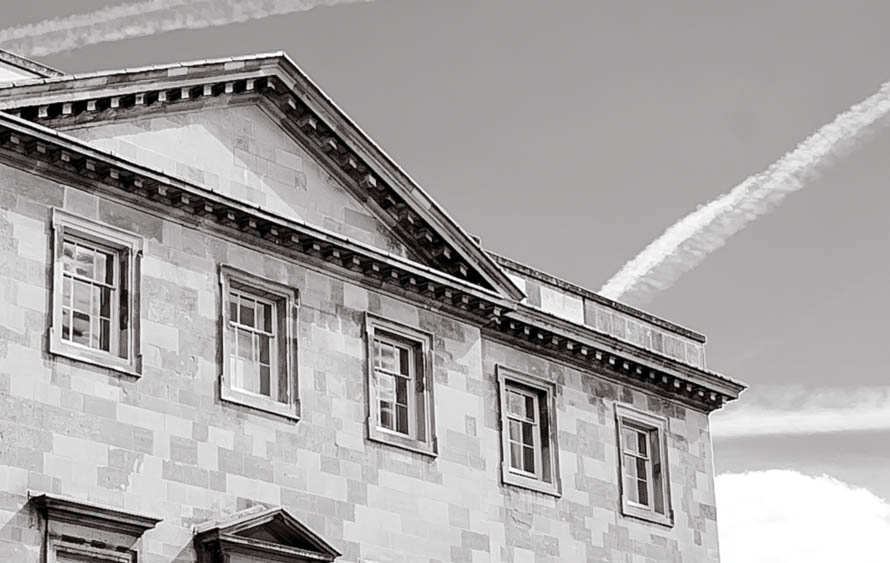
Before (100% crop):

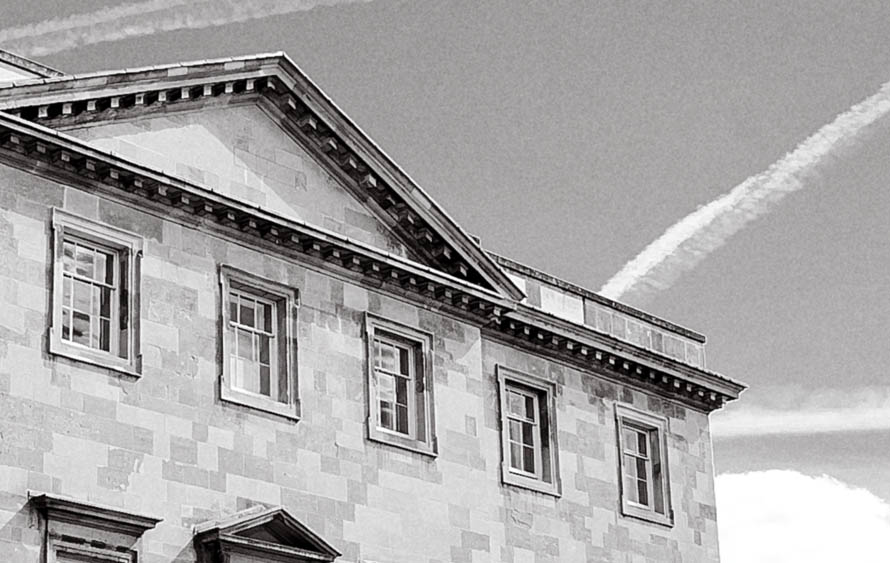
After (100% crop):

I hope you found this useful.


